
They want a strong, lasting bond when sealing windows or working on glass and aluminum. Many people miss the mark because they skip key steps—surface preparation, picking the right glass aluminum silicone sealant, or careful application. In fact, improper surface preparation causes about 80% of sealant failures. Common issues include dirty surfaces, wrong tools, or applying silicone sealant at the wrong time. Junbond JB7139 gives them a reliable choice for sealing windows, making sure each window stays protected for years.
Choosing the Right Glass Aluminum Silicone Sealant
Why Product Choice Matters
Choosing the right sealant can make or break a window project. Not every silicone sealant works for glass and aluminum. People need to think about heat tolerance, UV resistance, flexibility, and strength. A glass aluminum silicone sealant stands out because it handles tough environments and keeps windows sealed for years. It resists weather, sticks to both glass and aluminum, and stays flexible when temperatures change. Using a specialized sealant means fewer leaks and less maintenance. Proper surface preparation and careful application also help the sealant last longer and keep windows safe.
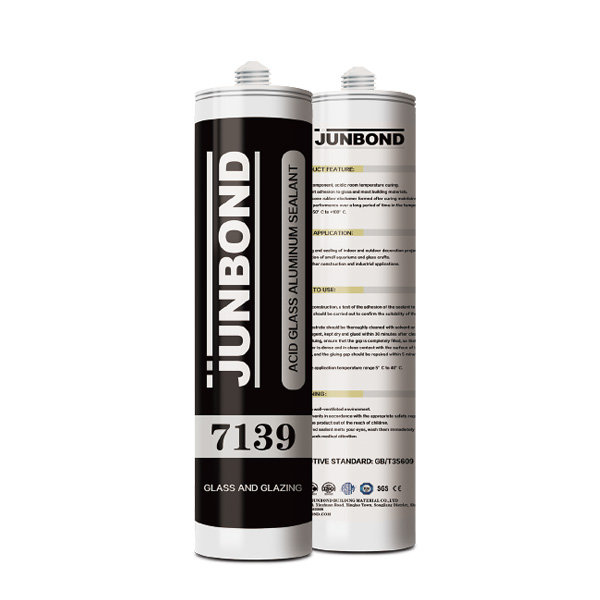
Features of Junbond JB7139
Junbond JB7139 Acid Glass Aluminum Silicone Sealant brings a lot to the table for sealing windows. It cures fast, so projects move quickly. The acetic acid curing system makes it eco-friendly and safe for indoor or outdoor use. This sealant stays flexible, even when windows expand or contract. It stands up to harsh weather, so rain or sun will not break the bond. Junbond JB7139 forms a waterproof and durable seal that protects against moisture damage. People trust it for both home and commercial window application because it bonds glass and aluminum with strength and reliability.
“The mechanical indicators are able to describe durability effects like ageing, fatigue and durable bond… the todays structural 2-part silicone (2nd generation) still passed the ETAG002-1 criterion for residual tensile strength with only marginal loss of adhesion at the specimen corners; a result that demonstrates the outstanding bonding strength durability of this sealant.”
Packaging and Color Options
Junbond JB7139 comes in several packaging sizes, from handy 260ml cartridges to large 200L drums. This makes it easy to pick the right amount for any window project, big or small. The sealant is available in clear, black, grey, and white, so it matches different window frames and styles. Custom colors are also available for special application needs. These options help users get a neat, professional look every time. Multiple sizes and colors mean less waste and more satisfaction for anyone sealing windows.
| Characteristic | Glass Aluminum Silicone Sealants | General-Purpose Silicone Sealants |
|---|---|---|
| Adhesion Strength | Exceptional | Varies |
| Chemical Resistance | High | Moderate |
| Temperature Range | Wide | Limited |
| Specific Applications | Demanding environments | General use |
How to Apply Silicone Sealant for a Perfect Finish
Surface Preparation
Great results start with proper preparation. They should always remove old sealant before starting a new window project. Here’s a simple process:
1.Score the edges of the old sealant with a sharp utility knife. Cut along both sides where the sealant meets the glass or aluminum. Take care not to scratch the surface.
2.Peel away the main body of the old sealant. Work slowly and keep steady pressure for a clean removal.
3.Use a plastic scraper to lift any stubborn bits or adhesive residue. Move the scraper parallel to the surface to avoid damage.
4.Clean the area with isopropyl alcohol and a lint-free cloth. Wipe thoroughly and do not let the solvent air dry.
For tough stains or oxidation on aluminum, products like 3M Marine Aluminum Restorer or Bar Keepers Friend Soft Cleanser work well. After cleaning, apply a thin film of silicone metal primer. Let it dry for at least 15 minutes before moving to the next step. This careful preparation ensures the new sealant sticks well and lasts longer.
Taping and Caulking Gun Setup
Neat lines make a window look professional. Painter’s tape helps create straight, clean edges for the silicone sealant. Place the tape along both sides of the joint, leaving a small gap for the sealant. This step prevents smudging and keeps the application tidy.
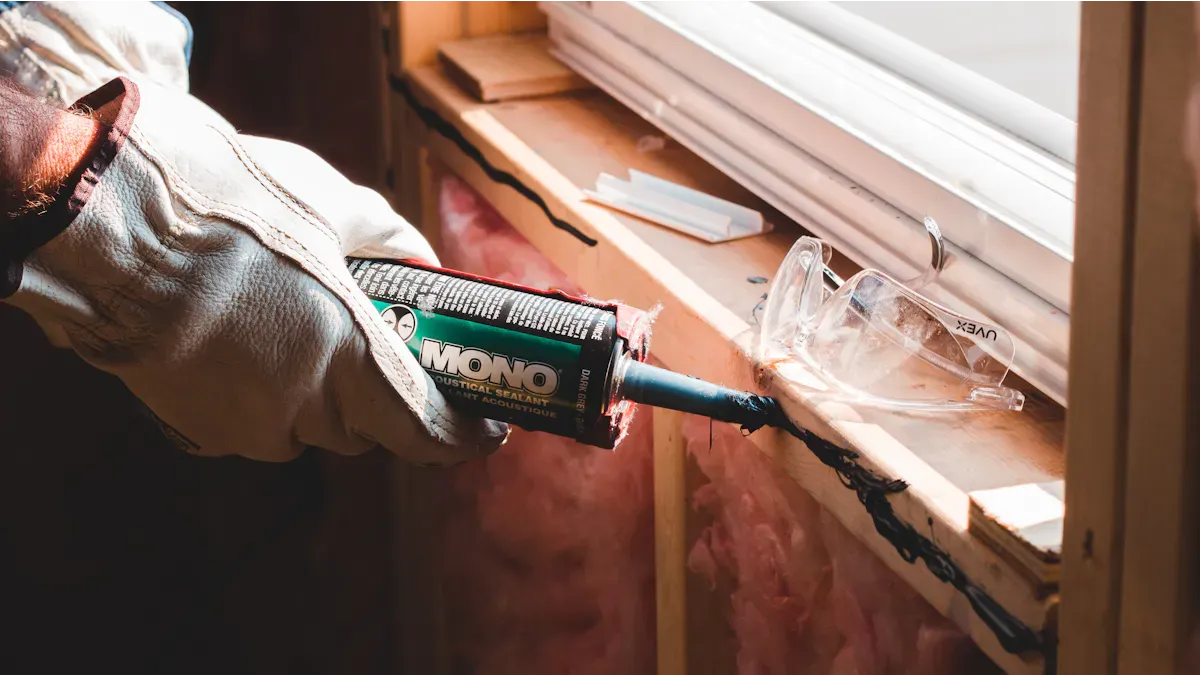
Next, set up the caulking gun. Cut the nozzle of the sealant tube at a 45-degree angle. This shape fits easily into the joint and gives better control. Insert the tube into the gun and secure it. Engage the plunger by rotating the rod at the back. Now, the gun is ready for smooth application.
Tip: Painter’s tape not only improves the look of the sealant but also makes cleanup much easier.
Applying the Sealant
Now comes the main event—applying the silicone sealant. Hold the caulking gun at a steady angle. Squeeze the trigger and move slowly along the window joint. Try to keep a continuous bead without stopping. This method gives a strong, even seal.
Avoid using too much sealant. A thick bead can look messy and may not cure properly. Make sure the sealant fills the gap but does not overflow. If the joint is deep, consider using a backer rod for support. This helps prevent cracking and keeps the sealant in place.
Common mistakes include applying sealant to dirty or wet surfaces, using the wrong tools, or rushing the job. Taking time with each step leads to a better finish and a longer-lasting window seal.
Smoothing and Finishing
Smoothing the bead is just as important as applying it. Choose a plastic or silicone smoothing tool, or use a wet finger for small areas. Work in short sections to keep control. Press gently to spread the sealant evenly and make sure it contacts both surfaces.
Use soapy water on your finger or tool to prevent sticking. Wipe away any extra sealant with a damp cloth before it starts to cure. Remove the painter’s tape while the sealant is still fresh. This leaves a crisp, clean edge.
If you see small imperfections, smooth them out right away. Waiting too long can make the sealant hard to fix. Always check your work before letting it cure.
Curing and Maintenance
Let the silicone sealant cure fully before exposing it to water or weather. For Junbond JB7139, follow the manufacturer’s instructions for best results. Rushing the curing process can weaken the seal and shorten its life.
Regular maintenance keeps the window looking good and working well. Inspect the sealant every year for cracks or peeling. Clean gently and avoid harsh chemicals. If you spot damage, touch up the area with fresh sealant.
Store any unused sealant in a cool, dry place. Keep the tube tightly sealed to prevent it from drying out. Good storage means the sealant stays ready for your next window project.
Note: Proper maintenance can help a sealant joint last up to 15 years or more.
A perfect window seal starts with the right sealant and careful steps. Junbond JB7139 helps every window stay strong. They should check each window and sealant every year for cracks or gaps. Regular touch-ups keep the window looking sharp. With good storage, the sealant stays ready for the next window project.
FAQ
How long does silicone sealant take to cure on windows?
They can expect the silicone sealant to become tack-free in about 5 minutes. Full curing usually takes 24 hours, depending on the application and temperature.
Can someone use glass aluminum silicone sealant for outdoor window projects?
Yes, they can use glass aluminum silicone sealant for outdoor window application. It resists weather and forms a strong, flexible seal that lasts.
What is the best way to prepare surfaces before sealing windows?
They should remove old sealant, clean the area, and let it dry. Good preparation helps the new sealant bond well and keeps the window protected.
Post time: Mar-23-2026