
Applying fireproof silicone sealant protects homes from fire hazards. Homeowners achieve the best results by following step-by-step instructions. The process suits beginners who want to handle safety improvements themselves. Correct application ensures the sealant forms a reliable barrier. Junbond offers trusted products that help people meet safety standards.
Choosing the right fireproof silicone sealant and using proper techniques increases the effectiveness of fire protection.
What Is Fireproof Silicone Sealant?
Key Features
Fireproof silicone sealant stands out from traditional sealants because of its unique chemical composition and performance. Manufacturers use neutral-cure chemistry with flame retardants, which allows the sealant to resist fire and extreme temperatures. The product maintains flexibility and durability, even when exposed to harsh conditions. It forms a protective barrier that does not melt or burn away, unlike many acrylic or latex-based sealants.
| Feature | Fireproof Silicone Sealant | Traditional Sealants |
|---|---|---|
| Chemical Composition | Neutral-cure chemistry with flame retardants | Acrylic, polyurethane, latex-based |
| Fire Resistance | Tested against ASTM E814, ASTM E1966, UL 2079 | Generally not fire-rated |
| Temperature Range | -50℃ to +150℃, some above 200℃ | -10℃ to 80℃ |
| Flexibility | Maintains flexibility at all temperatures | Less flexible, prone to cracking |
| Service Life | Over 20 years in exposed conditions | Shorter lifespan compared to silicone |
| Reaction to Heat | Forms char, protects joints from fire spread | Melts or burns away, allowing flames through |
| UV Resistance | Naturally resists UV breakdown | Prone to degradation from UV exposure |
Fireproof silicone sealant also withstands extremely high temperatures and enhances structural integrity. It resists degradation in extreme conditions, making it reliable for long-term use.
Home Safety Benefits
Fireproof silicone sealant plays a vital role in home safety. It prevents flames from passing through gaps, cracks, and joints in walls or ceilings. The sealant holds back fire, smoke, and toxic gases, keeping them confined to one area. This reduces the risk of fire spreading throughout the home.
High-quality sealants expand to seal gaps tightly and can form a hard ceramic crust that deflects heat.
·Fire retardant sealants prevent toxic gases, smoke, and fire from spreading out of the space.
·Chemically engineered formulas handle high temperatures without melting or shrinking.
·The sealant prevents leakage or formation of pathways for fire or toxic gases to escape.
·It enhances safety in fire-prone areas by maintaining effectiveness during emergencies.
Fireproof silicone sealant offers homeowners peace of mind by providing a strong defense against fire hazards. Its durability and performance make it a smart choice for anyone seeking to improve home safety.
Choosing the Right Fireproof Silicone Sealant
Selection Criteria
Homeowners should consider several factors when selecting a fireproof silicone sealant. The right product protects homes and ensures long-lasting performance. Temperature rating stands as a key factor. Many high-quality sealants withstand temperatures up to 500°F (260°C). This makes them suitable for areas like kitchens, fireplaces, and utility rooms. Some sealants keep at least 75% of their strength after two hours at 180°C, showing strong durability during emergencies.
Certifications also play a major role in product selection. Reliable fireproof silicone sealants meet strict safety standards. Look for products tested under these certifications:
·ASTM E814: Measures fire resistance of materials used to stop fire from passing through walls or floors.
·UL 263: Assesses how well building materials resist fire in high-risk areas.
Compatibility with surfaces matters as well. Homeowners should check if the sealant bonds with common materials such as concrete, brick, wood, and metal. A good sealant forms a tight seal on all these surfaces.
Cost can influence the decision. Fire-rated silicone sealant usually costs about $12 per cartridge. Acrylic sealants cost less, around $3 per cartridge, but require replacement every five years. Fire-rated silicone lasts for 20 years or more, which saves money over time.
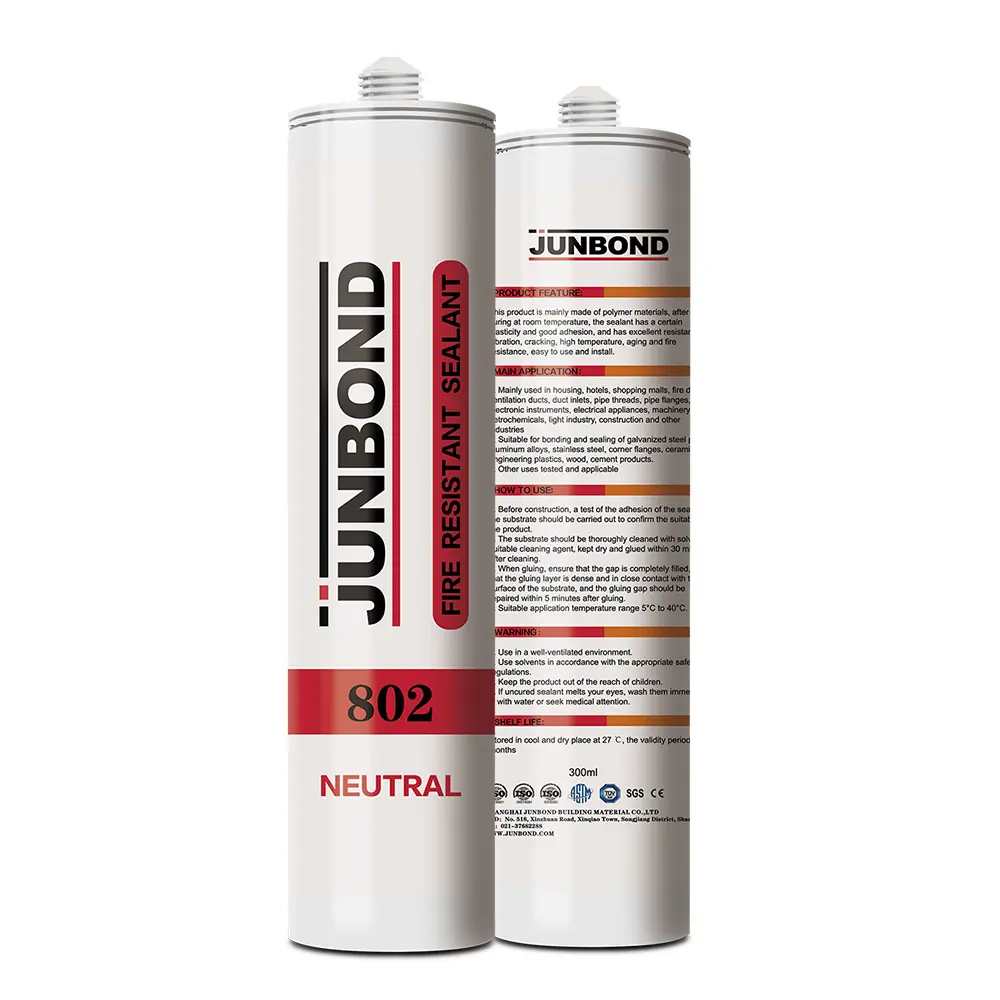
Why Junbond Is Recommended
Junbond stands out as a trusted brand for home use. The company produces fireproof silicone sealant that meets important safety certifications. Junbond products handle high temperatures and maintain flexibility in harsh conditions. They bond well with many surfaces found in homes. Homeowners choose Junbond for its proven durability and long service life. The brand offers peace of mind by combining safety, reliability, and cost-effectiveness.
Preparing for Application
Cleaning and Drying Surfaces
Proper surface preparation ensures fireproof silicone sealant adheres securely and performs as intended. Homeowners should start by removing dust, debris, and grease from the area. Degreasers work well for eliminating tough residues such as oil, lubricants, and hydraulic fluids. Solvents like isopropyl alcohol clean metal and glass, while xylene or toluene tackle oily dirt. These agents break down contaminants, leaving surfaces ready for sealing.
Neglecting surface preparation can lead to staining, water damage, and bacterial growth. Mold and mildew may develop in unsealed areas, especially near sinks or kitchens.
After cleaning, allow surfaces to dry completely. Moisture can compromise adhesion and cause cracking or deterioration. Some surfaces benefit from a primer, which must dry fully before sealant application. Storage conditions also matter. Keep silicone sealant between 40°F and 80°F, away from heat sources and sunlight. Maintain humidity below 60% and store in a dark place to prevent premature curing.
Recommended Steps for Surface Preparation:
1.Clean surfaces with appropriate agents (isopropyl alcohol for metal/glass, xylene/toluene for oily dirt).
2.Let surfaces dry thoroughly.
3.Apply primer if needed and allow it to dry.
4.Install backer rods to control sealant depth.
Masking for Clean Edges
Masking tape helps create straight, clean lines when applying fireproof silicone sealant. It prevents smudging and maintains a neat appearance. Homeowners should use tape to protect non-abradable surfaces and achieve professional-looking results.
·Choose masking tape designed for sealant work.
·Apply tape along the edges of the area to be sealed.
·Remove tape immediately after smoothing the sealant for crisp lines.
Tip: Masking tape not only improves appearance but also makes cleanup easier.
Careful masking and preparation lead to a durable, attractive seal that enhances fire safety and prevents future issues.
Applying Fireproof Silicone Sealant
Using the Right Tools
Homeowners achieve the best results when they use the correct tools for applying fireproof silicone sealant. A caulk gun provides steady pressure and helps create a uniform bead. This tool allows for better control and reduces hand fatigue during application. People should also keep a utility knife or scissors nearby to cut the sealant cartridge tip at a 45-degree angle. A smoothing tool or a gloved finger helps finish the bead for a clean look. Clean rags and a small container of isopropyl alcohol make it easy to wipe away excess sealant before it cures.
Tip: Always wear gloves and ensure good ventilation when working indoors. Some sealants may emit strong odors during application.
Filling Gaps and Joints
The next step involves filling gaps and joints with the sealant. Homeowners should insert the cartridge into the caulk gun and apply steady pressure to release the sealant. They should move the gun slowly along the joint, keeping the bead consistent in size. It is important to fill the entire gap without leaving air pockets. For deep joints, a backer rod can help control the depth and prevent waste. People should avoid overfilling, as excess sealant can create a messy appearance and slow down the curing process.
Smoothing and Finishing
A smooth finish improves both the appearance and performance of the sealant. Several techniques help achieve a professional look:
·Use a smoothing tool or a wet, gloved finger to create a smooth bead.
·Remove excess sealant right away to prevent a messy finish and ensure proper curing.
·Inspect the bead immediately after application and touch up any uneven spots.
These steps help the sealant form a tight, even barrier. Prompt cleanup also prevents the sealant from sticking to unwanted surfaces.
Curing Process
Proper curing is essential for the fire resistance and durability of the sealant. Each type of silicone sealant has a different curing time. The table below shows average times under standard room temperature and humidity:
| Type of Silicone Sealant | Skin Formation Time | Full Cure Time |
|---|---|---|
| Acetoxy Cure Silicone | 10–20 minutes | 24–48 hours |
| Neutral Cure Silicone | 15–30 minutes | 48–72 hours |
| High-Temperature Silicone | 20–40 minutes | 72–96 hours |
| Marine-Grade Silicone | 10–25 minutes | 3–7 days |
Homeowners should always follow the manufacturer’s instructions for curing. If the sealant does not cure properly, it may not adhere well or provide the needed fire resistance. Poor curing can allow flames, smoke, and gases to pass through, which reduces safety. Environmental factors like temperature swings and high humidity can also affect the curing process. People should keep the area dry and avoid disturbing the sealant until it has fully cured.
Note: Many fireproof silicone sealants have low VOC emissions, making them safer for indoor use. However, some products may emit odors or contain chemicals that require good ventilation during application.
Maintenance and Common Mistakes
Regular Inspection
Homeowners should inspect fireproof silicone sealant regularly to ensure continued protection. Annual inspections help identify early signs of wear or failure. The best time for inspection is during colder months. Joints may open in low temperatures, making adhesive failures easier to spot. Maintenance checks every one to two years allow for cleaning, touch-ups, or repairs based on the sealant’s condition.
·Inspect fireproof silicone sealant once a year.
·Choose colder weather for inspections to reveal joint movement or adhesive issues.
·Review sealants every one to two years for cleaning, repairs, or replacement.
Regular inspection extends the lifespan of fireproof silicone sealant and keeps homes safer.
Cleaning and Reapplication
Certain symptoms signal the need for cleaning or reapplication. The table below lists common signs and their causes:
| Symptoms | Causes |
|---|---|
| Black or dark stains appear | Prolonged exposure to moisture and humidity, Lack of ventilation in the area, Using non-sanitary silicone in wet environments |
| The silicone remains soft or tacky | Expired product or improper storage, Incompatible curing environment, Mixing error |
| Gaps form between the sealant and substrate | Movement in the substrate beyond the sealant’s flexibility range, Incorrect joint design, No backer rod or bond breaker tape used |
When these issues appear, homeowners should clean the affected area and remove damaged sealant. Reapply new fireproof silicone to restore the protective barrier. High-quality silicone sealants last 10 to 20 years under optimal conditions. Indoor seals in kitchens and bathrooms usually last 10 to 15 years. Outdoor seals may require replacement after 5 to 10 years due to weather exposure.
Tip: Addressing small problems early prevents larger repairs and maintains fire safety.
Mistakes to Avoid
Homeowners sometimes make mistakes when applying fireproof silicone sealant. Inadequate surface preparation stands out as a common error. Dirty or wet surfaces cause poor adhesion, leading to sealant failure. Studies show that about 70% of failures result from improper cleaning or drying. Another frequent mistake involves ignoring the curing process. Rushing the job and not allowing enough time for the sealant to cure weakens the bond. Curing times can range from 24 hours to several days, depending on the product. Using the wrong type of sealant for the surface or environment also reduces effectiveness.
People should follow manufacturer instructions, prepare surfaces carefully, and allow full curing. If problems persist or if large areas need repair, seeking help from a professional ensures the best results.
Applying fireproof silicone sealant involves several important steps. Homeowners should follow this process for the best results:
1.Clean the surface to remove dust and grease.
2.Dry the area completely.
3.Use masking tape for neat edges.
4.Gather tools like a caulking gun.
5.Cut the nozzle at an angle.
6.Load the caulking gun.
7.Apply the sealant along the gap.
8.Smooth the bead with a tool or finger.
9.Remove masking tape while the sealant is wet.
10.Allow the sealant to cure fully.
Preparation, careful application, and regular maintenance help keep homes safe. Trusted brands like Junbond provide reliable protection. Proper use of fireproof silicone sealant strengthens fire safety in every home.
FAQ
How long does fireproof silicone sealant last?
Most fireproof silicone sealants last 10 to 20 years. Outdoor exposure or harsh conditions may shorten this time. Regular inspection helps maintain protection.
Can people paint over fireproof silicone sealant?
Most fireproof silicone sealants do not accept paint. The surface stays flexible and smooth. People should check the product label for paint compatibility.
Where should homeowners apply fireproof silicone sealant?
Homeowners should use fireproof silicone sealant around windows, doors, pipes, and electrical outlets. These areas often have gaps that need sealing to block fire and smoke.
Is fireproof silicone sealant safe for indoor use?
| Feature | Fireproof Silicone Sealant |
|---|---|
| VOC Emissions | Low |
| Odor | Mild |
| Safety | Safe with ventilation |
People should keep rooms ventilated during application for best results.
Post time: Jun-08-2026